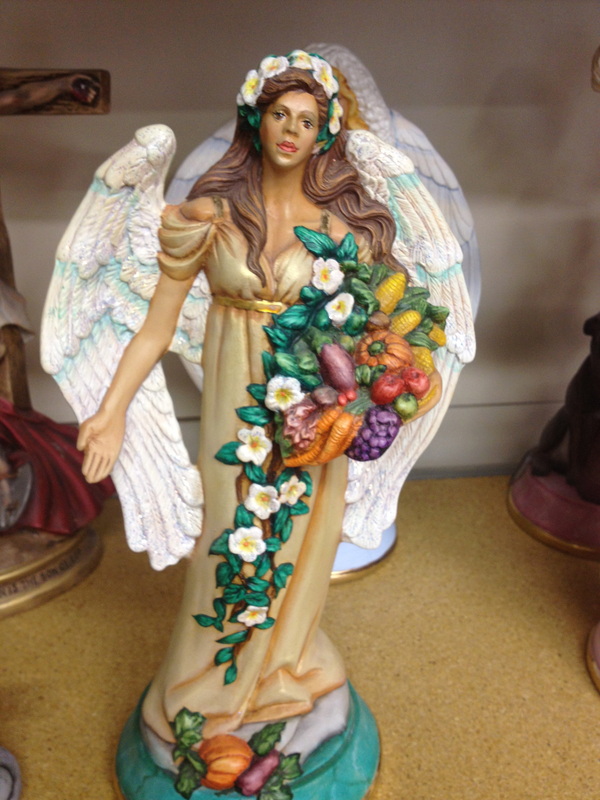
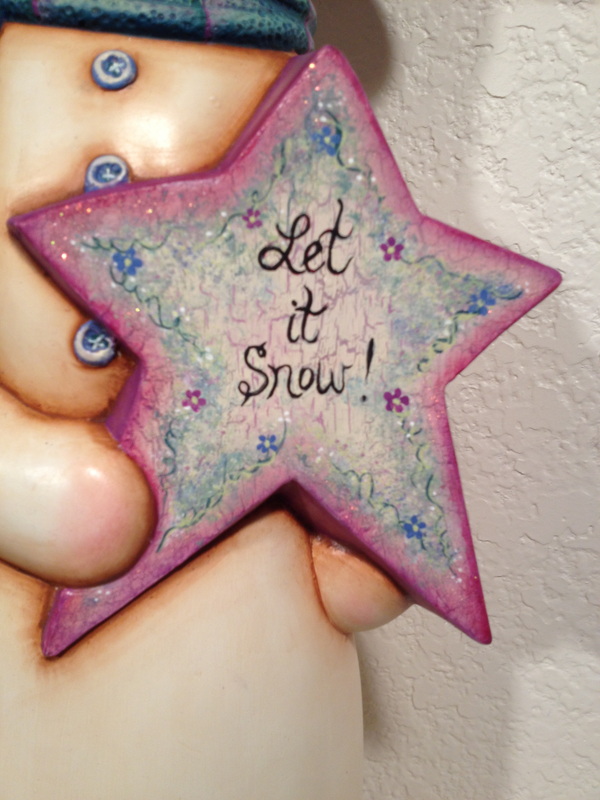
 Doc Holliday's Fall Angel Doc Holliday's Fall Angel I have found that the pieces I have enjoyed painting the most, and was the most pleased with the finish, were those that I combined several products and techniques. I love love to paint with acrylics, but I have found that adding a type of translucent paint with my acrylics makes my piece stand out. As well as adding even a small section with a specialty product like Crackle or a specialty technique like marbling makes a big impact on the outcome. This fall angel has wet brushing, antiquing, intense translucence and marbling as well as a little band of fired gold.
I have added several new How to Technique Packets to my online store as well as a few new Project packets for halloween. The "how to" packets teach the techniques. The project packets contain instructions to complete specific pieces. Several of this project packets combine multiple techniques. Keep in mind this is a brief summary of how the technique is done. I still like to use this method on certain skin tones like Native flesh, and certain textures like an all over bumpy even texture like the fur on Clay Magic's holiday bear series.
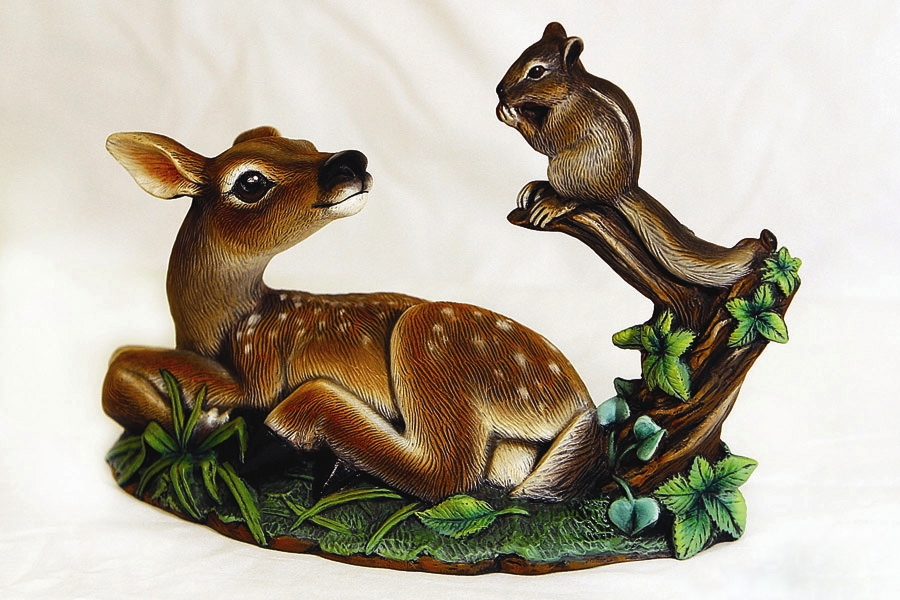
Dry Brushing: Brush: Stiff Bristle Brushes, round and square both work for various application areas. Product: Works well with most popular brands of acrylic paints, better if the paint is not too thin and if it doesn't get rubbery and ball up in the brush as it dries, also better if the paint does not have a glossy element (I didn't care for The old brand Studio Stains to Dry brush with due to this.) Supplies: Absorbent material like scratch paper, (Nothing with ink print that can be picked up in the brush, newspaper is notorious for this) Towel, tile or paper plate (Water - used only for clean up) Piece: Especially suited for pieces with lots of texture, but can also be used on smooth areas to create a soft look when applied evenly. The basecoat should be darker than the color being used to Dry Brush over the top. Prep: Base coat the area with a color that is darker than the desired outcome. Black is a typical color used as a base, or other dark colors like Doc Holliday's Real Brown, Steel Grey, Midnight Blue, Shadow green, etc. You can also basecoat a light or medium shade and then antique with a darker shade to achieve the depth in the cracks. Method: Dip the end of a clean dry brush into paint that is lighter than the base coat and then pounce most of the color off on the scratch paper until the brush marks on the paper resemble "chicken scratch", very rough, very dry, no wet blobs. Swipe the brush back and forth against a textured area getting an all over fuzzy appearance keeping it even and consistent. Repeat this over an area several times, building layer upon layer until you achieve the coverage you desire. Maneuver the brush across the grain in a manner that keeps the bristles out of the crevices, allowing the darker base to stay dark. You can keep adding different color to your brush blending and highlighting. If you want to change to a clean color without this blending affect, you need to use a new dry brush, or clean your brush and completely dry it, working it against a towel until it is dry. This technique does not work with any added moisture in your brush. If you are Wet Brushing or Dry Brushing and your desired goal is a soft White or lighter shade, consider using a lighter base coat. Look in the photo gallery, animal section at the Doc Holliday Lynx, this was base coated in black because I wanted a rich look with texture and depth. However, I wanted a softer effect for the animals, so the rest of the pierce was base coated in White and antiqued with Black Translucent. This still gives depth in the crevices and not far to go to achieve soft white shade when wet brushed. Be sure to let the antiquing dry completely so you don't muddy your white brush. You don't have to base coat a piece all one color, this combination gives interest and contrast.
Have fun painting and check back soon for another tip! Or you can click on the "get updates via RSS" below on the right to receive a notification when a new tip is added. Be Back Soon! Shelley Happy New Years! I am starting Sarah Snow and I will be posting the step by step progress pictures on Facebook if you would like to follow along.
http://www.facebook.com/ShelleysBrushWorks Feel free to comment or ask questions. If you don't have a Facebook account, let me know and I will post additional pics somewhere here on my website. Hope you'll paint along with me! Shelley You may find that the pros and cons listed below are not consistent with your experience, however, keep in mind that this is what I have found to be true based on my personal experiences painting and from years of teaching hundreds of different individuals with varying skill level both techniques.
Dry Brushing Results: When applied correctly, texture is all over fuzzy and even, and can even be almost solid if desired by applying more coats. Colors tend to be more “muted” or dull. This can be a pro or a con, depending on the effect you are after. Some people use a larger back and forth brushing motion while others prefer short quick strokes like a scrubbing motion, this can change the results. Pros:
Results: When applied correctly the texture achieved varies with the detail and typically takes on more of a solid appearance with the majority of shading in the deeper crevices. The brush strokes themselves leave behind texture that enhances the technique. Colors tend to be richer and brighter. Contrast is sharper which can be a pro or con, depending on desired results. Pros:
In my opinion, Wet Brushing is much quicker, more versatile, and produces a nicer finish on most pieces than Dry Brushing. I find I get better results with Wet Brushing in almost every setting. I might choose to Dry Brush if I had a “cutesy” piece that had mostly smooth or slightly bumpy texture (snowman or stuffed animal fur) and I wanted to achieve an all over even fuzzy texture. Even still, I would still debate if another approach to the piece using wet brushing would work because of the time it would save. I may also choose to Dry Brush if I am using a stencil or want that “stenciled” look without breaking out my airbrush. With that being said, I know there are many talented painters out there that get amazing professional results with Dry Brushing, again, I am speaking from my experience. Like anything it is important to learn the proper technique and practice to improve your skill before you will see consistent results. When you do it correctly it is very easy. When you are not doing it correctly you will become very frustrated and likely discard it all together. I had a choir teacher that engrained this quote in my head “practice does not make perfect…it only makes permanent”. I learned that if you continue to practice something the wrong way, you’ll permanently do it the wrong way, thus creating bad habits that are hard to break. In my years of helping people Wet Brush, the people I have run across that don’t like wet brushing have usually been doing it wrong and or have dry brushed so long that they are combining to two techniques while learning and not getting either positive result. If you find yourself in this boat, I challenge you to hang in there and stay tuned. I will be posting a “how to” on both techniques and following that up with a short video tutorial. Although I use Wet Brushing 80-90% of the time, I still believe it’s very important to learn how to do both to be a well-rounded painter. To be continued... Part 3: How to Dry Brush Part 4: How to Wet Brush Will be posted soon. Happy Painting! Shelley These two techniques share the same concept, however the methods and results are very different and this can be confusing.
The Concept behind both is this: Typically, a lighter shade is applied over a darker shade in a way that maneuvers the brush over the crevices allowing the darker shade to show through partially or completely which accentuates the detail and provides contrast & depth. If you have been using one technique for a long time, it can often be difficult to successfully master the other because habit and muscle memory can take over, which leaves us trying to mix the two methods and therefore gives us poor results. This frustration can often cause us to stop attempting to learn or make us doubt that the technique even works at all. I can assure you, both techniques work when done correctly. Even though I am a firm believer in Wet Brushing the majority of the time, and I'll tell you why below, I still believe that there are certain situations that are appropriate for dry brushing and it's good to know how to do both. Keep in mind as I attempt to explain the differences and benefits below, I am speaking from my own painting and teaching experience in my area of the world. You may have been taught differently or exposed to a different method by the same name, but below I will share a brief summary here of the techniques as I use them. I will be explaining the methods using Non Fired Acrylic Paints, though they can both be used with other products. Dry Brushing is done with dry stiff bristle brush, pouncing out as much color as possible on scratch paper, then applying to the piece by brushing against the grain in a swiping and or rubbing motion. The paint is applied to the raised texture and stays out of the crevice detail. You repeat the process several times building even fuzzy layer after layer until the desired coverage is achieved. You don't want to dip your brush in water. If you want to use a clean color, you usually use a clean dry brush, or you have to clean your brush and dry it repeatedly against a towel to remove moisture. "Moisture is not your friend". Wet Brushing is done with damp soft taklon brush, loaded with water and paint, the brush is swiped against a scratch paper to work the color into the brush, and blotted on a paper towel to remove excess moisture. It is then applied to the piece by swiping the brush against grain, keeping the paint on the raised textured and out of the crevice detail. You load your brush often, "Moisture is your friend" (brush needs to stay moist, not dripping). The desired coverage is achieved almost immediately in one layer. You can clean your brush as often as needed and use immediately, no need to dry. These are very brief summaries and are not intended to be "how to instructions" but just to show you the basic difference. In Summary, the difference Dry Brushing is done with dry stiff bristle brush applied in layers, vs. Wet Brushing is done with wet soft bristle brush applied in single layer. (I will be posting a How to Dry Brush and How to Wet Brush in the near future and I will share with you the specific method for each technique that works successfully for me. I will also be sharing the pros and cons and how to know when to use which technique) To be continued... Part 2: Pros & Cons, which works best for what? Part 3: How to Dry Brush Part 4: How to Wet Brush Will be posted soon. Happy Painting! Shelley For so long, the standard basecoat for dry brushing has been black or something very dark. However If you are Wet Brushing or Dry Brushing and your desired goal is a soft White or lighter shade, consider using a lighter base coat.
Let's just use the Doc Holliiday Lynx in my Photo Gallery as an example. The log the Lynx is sitting on was base coated in black because I wanted a rich look with texture and depth. However, I wanted a softer finish for the animals and obviously the snow, so the rest of the pierce was base coated in White. Then, I antiqued with Black Translucent and wiped back. This still gives depth in the crevices and yet I don't have far to go with Wet Brushing to achieve the soft light shade desired for the finished outcome. Be sure to let the antiquing dry completely so you don't muddy your white brush while Wet Brushing. You don't have to base coat a piece all one color, this combination gives interest and contrast. Consider this approach when you run in this situation in the future! Don't Forget to Click on the RSS Feed on the right of the page to get notified when a new tip is added here or a technique packet is added to the store. Happy Painting! Shelley |
Shelley Long
Ceramic Artist & Teacher 
I will share various tips for painting on this page, I hope you enjoy
them! Please feel free to ask questions or comment, it's always nice to
hear from other painters and I am happy to help any way I can! I will be adding various technique packages to the online store and when I
do I will post an update here to let you know a technique has been
added. Check back soon tips !
God Bless & Happy Painting! Shelley  
Receive Updates
program for scheduling - by BookFresh Categories
All
Archives
March 2016

Back to
|