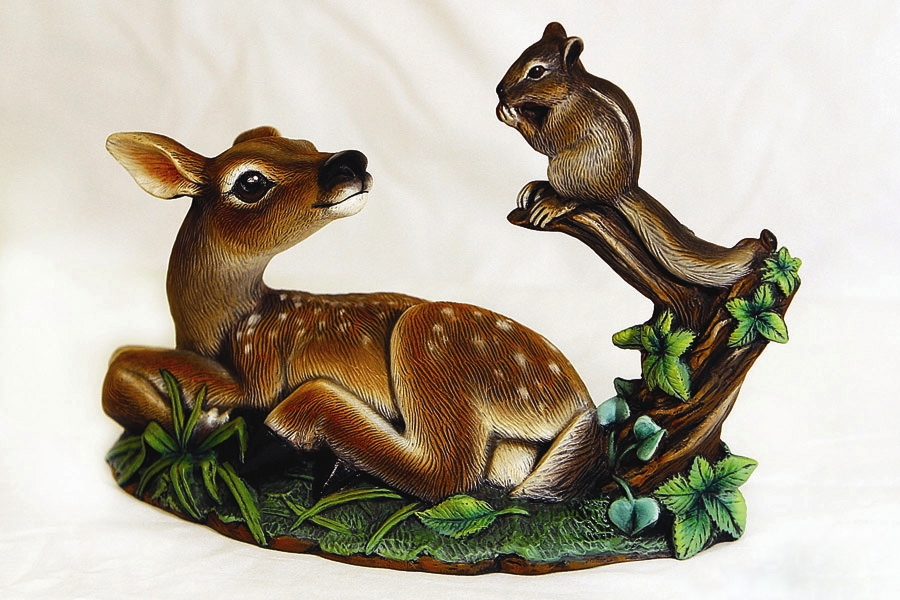
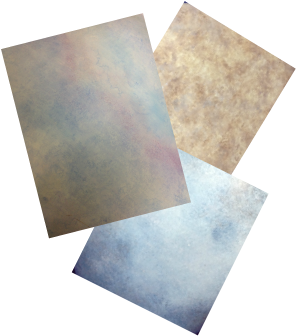
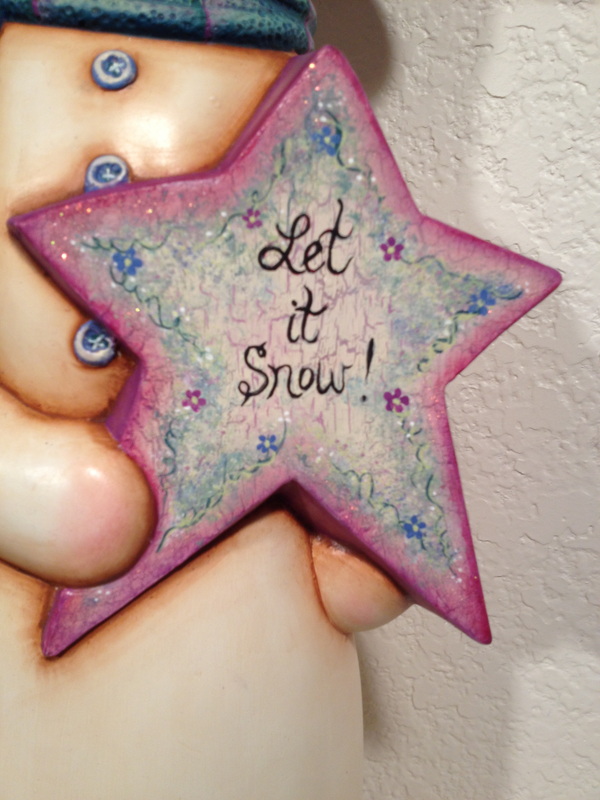
 You can create beautiful backgrounds and finishes with a sponge! Using a clean, damp Sea Wool Sponge (look for one with lots of interesting larger holes and detail) scrunch up the sponge to have part in your hand as a handle to expose a nice interesting area of the sponge to use as the painter. Dip this painter end of the sponge in 2-3 colors (that have been placed on a tile) so that the head of the sponge you are going to use to paint with has 2-3 separate areas of color – its okay if they overlap. Then using a pouncing & twisting motion, pounce this painter area of the sponge on a scrap paper while using a random twisting motion with your wrist to gently begin blending the colors, then move to your piece. The randomness will keep the sponge prints from looking too symmetrical or patterned (unless that is the look you are after). Using a bit of pressure will expel some of the moisture in the sponge out with the paint causing the colors to blend. Pounce only long enough in one area to provide good coverage while creating interesting detail, then keep moving across the piece. If you over work an area, your colors will blend too much together, creating a single color with smooth detail. To get the full rich benefit of color, contrast and distinct detail, it is important that you keep the sponge moving. Don’t be a perfectionist in this area, allow randomness to create for you, and in the big picture, the things that looked dramatic or “too much” will enhance your piece. Choosing your colors is part of the fun, each combination will yield something creative. Try Coppers and browns, greens and yellows, and varying shades of one color, for instant light blue, dark blue and throw in white for contrast. Be sure to keep a journal of which colors you like best.
|
Shelley Long
Ceramic Artist & Teacher 
I will share various tips for painting on this page, I hope you enjoy
them! Please feel free to ask questions or comment, it's always nice to
hear from other painters and I am happy to help any way I can! I will be adding various technique packages to the online store and when I
do I will post an update here to let you know a technique has been
added. Check back soon tips !
God Bless & Happy Painting! Shelley  
Receive Updates
program for scheduling - by BookFresh Categories
All
Archives
March 2016


Back to
|