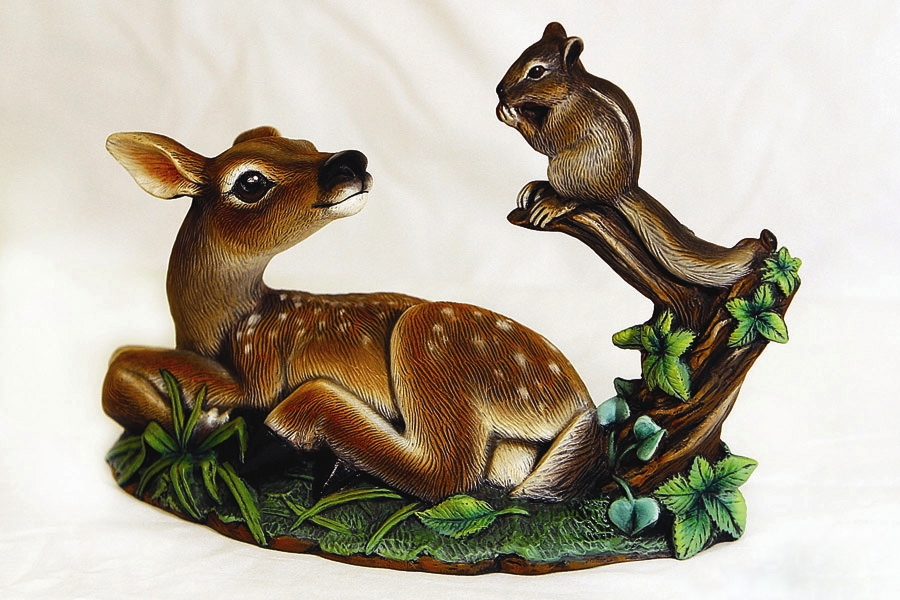
 Antiquing is a very versatile product that helps us create many different effects. It should be applied over an acrylic base coat (which acts as a sealer and stops the antique from soaking into the bisque), and then wiped off with a paper towel or soft rag (like a t-shirt), leaving it only in the crevices. Oil base antiques in my opinion are the most effective and clean up is done with a mineral spirit product (there are other options). There are also water based antiques, these clean up with water but do not wipe off as smoothly or as evenly and do not give the same satiny finish.
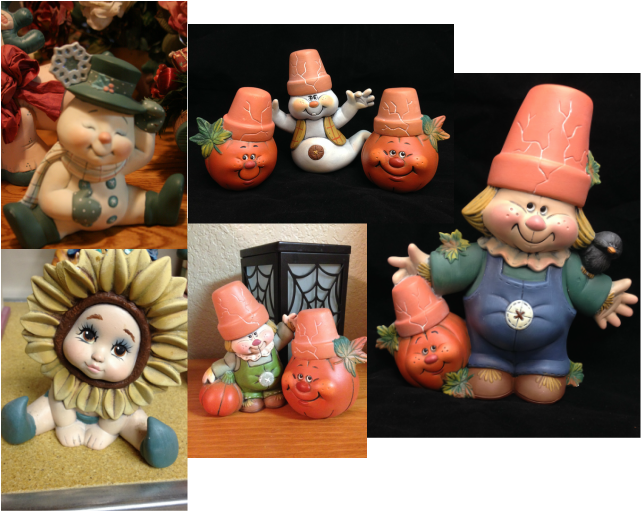
It can several purposes, I'll just name a few: 1. By leaving a little of the antique behind in the cracks and crevice detail, it can create depth, shadow (and contrast if the antique is quite a bit darker than the base coat). 2. It would also camouflage uneven or messy lines and borders left behind by shaky hands. 3. The antique would change the shade of the acrylics. Using different colors of antique over different colors of acrylics can create many options for shading. For example, If you wanted a nice leather look, you can paint a tan base coat on, which alone, is pale and flat and all one shade leaving it very uninteresting and not very authentic for leather, but by antiquing it with a rich brown you transform it to a darker shade, creating a basic leather or wood look. It can also tone down a bright shade, which can be a negative if you are not aware of that before starting. 4. It changes the texture and finish of the piece from matte and rough to smooth and satiny. Painting antique ON TOP of your final colors: Years ago the most common use for antique was just to paint your piece the individual colors of acrylics you want on each area (skin, hair, hat, shoes, coat, etc) and then paint antique over the top of your piece after it dries and wiping it down, spraying it with sealer and calling it good. However, there are many different ways to incorporate antiques into your painted pieces. I don't normally use this method for an entire piece, but I do use it for things like skin tone, leather, wood etc. Small areas on a piece that can just be antiqued and look fine being left alone after that. Painting antique UNDERNEATH your final colors: I rarely ever use antique as the final finish for an entire piece. Most of the time I use the antique in the middle of the process, after initial base coating, but with full intentions of painting something over the top of it to be my final finish. I may base coat with primer and use antique to get depth, then use translucents' to give color and final finish. I may base coat with all one color or multiple colors, then antique to get depth and a satiny finish to use PaintStiks for color and final finish. I may base coat and use antique to get depth, then wet brush or dry brush to get texture and change color. And sometimes, I amy base coat a piece (could be all one color or each area different according to piece) and the antique to get depth, then paint with acrylics again on the top. One such example is what I call "Reverse Antiquing" as shown in the pictures above. These were all base coated with a light gray and antiqued with black (with the exception of the snowman, which was base coated light gray but antiqued with a dark teal and the terra-cotta pots on the other pieces were base coated with a terra-cotta color and antiqued with white). Then I used acrylics, thinned with water slightly, and loaded onto soft blended hair taklon brushes (mostly flat shaders). I painted each area the color I wanted it to be keeping the color thin and slightly "see through" so the black crevices in the detail areas would show through. I used a swiping back and forth motion to get the color to apply thin and even, and then move on, not retouching an area it as it starts to dry - or you will just remove it and gouge a hole in your color. I did not take the color clear to the edge, I left the dark crevices showing and when possible, angling my brush so the acrylic paint floated over the top of crevices so the paint didn't go down into the detail. Be sure the brush is not loaded so full that the paint is dripping and running or the paint will run into the crevices. If you have an area that is streaky. Let the first coat dry, then swipe over it lightly again to even it out. Some areas, will just look solid, like the snowman's hat and shoes, but that's okay those are smooth areas without any detail to show through. The buttons, I did just paint solid - but the overall piece still has the soft effect. This is similar to how you would apply translucents' - but the difference is in the finish - the translucents' will look see though every where - using acrylics with this method, the colors look for the most part solid, but the cracks shows through. Why wouldn't you just paint the colors on and antique with black on top of it? You could, but the colors will all be dull and dark because the black will change the shade of each color it goes over. This method keeps the colors bright and clean looking as opposed to dull somewhat dingy. This method gives it a little softer look while keeping the colors as bright as you want. I hope this helps a little and gives you some courage to try something new! Feel free to comment here or ask questions and I will give you as much detail as I can to help you be successful! Happy Painting! |
Shelley Long
Ceramic Artist & Teacher 
I will share various tips for painting on this page, I hope you enjoy
them! Please feel free to ask questions or comment, it's always nice to
hear from other painters and I am happy to help any way I can! I will be adding various technique packages to the online store and when I
do I will post an update here to let you know a technique has been
added. Check back soon tips !
God Bless & Happy Painting! Shelley  
Receive Updates
program for scheduling - by BookFresh Categories
All

Archives
March 2016


Back to
|